A Comprehensive Guide To Installing Tile Start To Finish
Are you thinking about installing tile somewhere in your home or business but need help knowing where to start? If yes, we at Madtown Tile Installers can help you with the installation process while giving you the beautiful finish you're looking for. We know the
tile installation process can be daunting, particularly if you're unconversant with the steps involved. To help you get to install the tiles successfully, we have compiled a comprehensive guide to help you understand the tile installation process and timeline. We'll cover everything from the initial planning stage all the way through to the final grouting and finishing steps. Read on to get insight into each of these steps.
A Guide To Installing Tile
Preparation
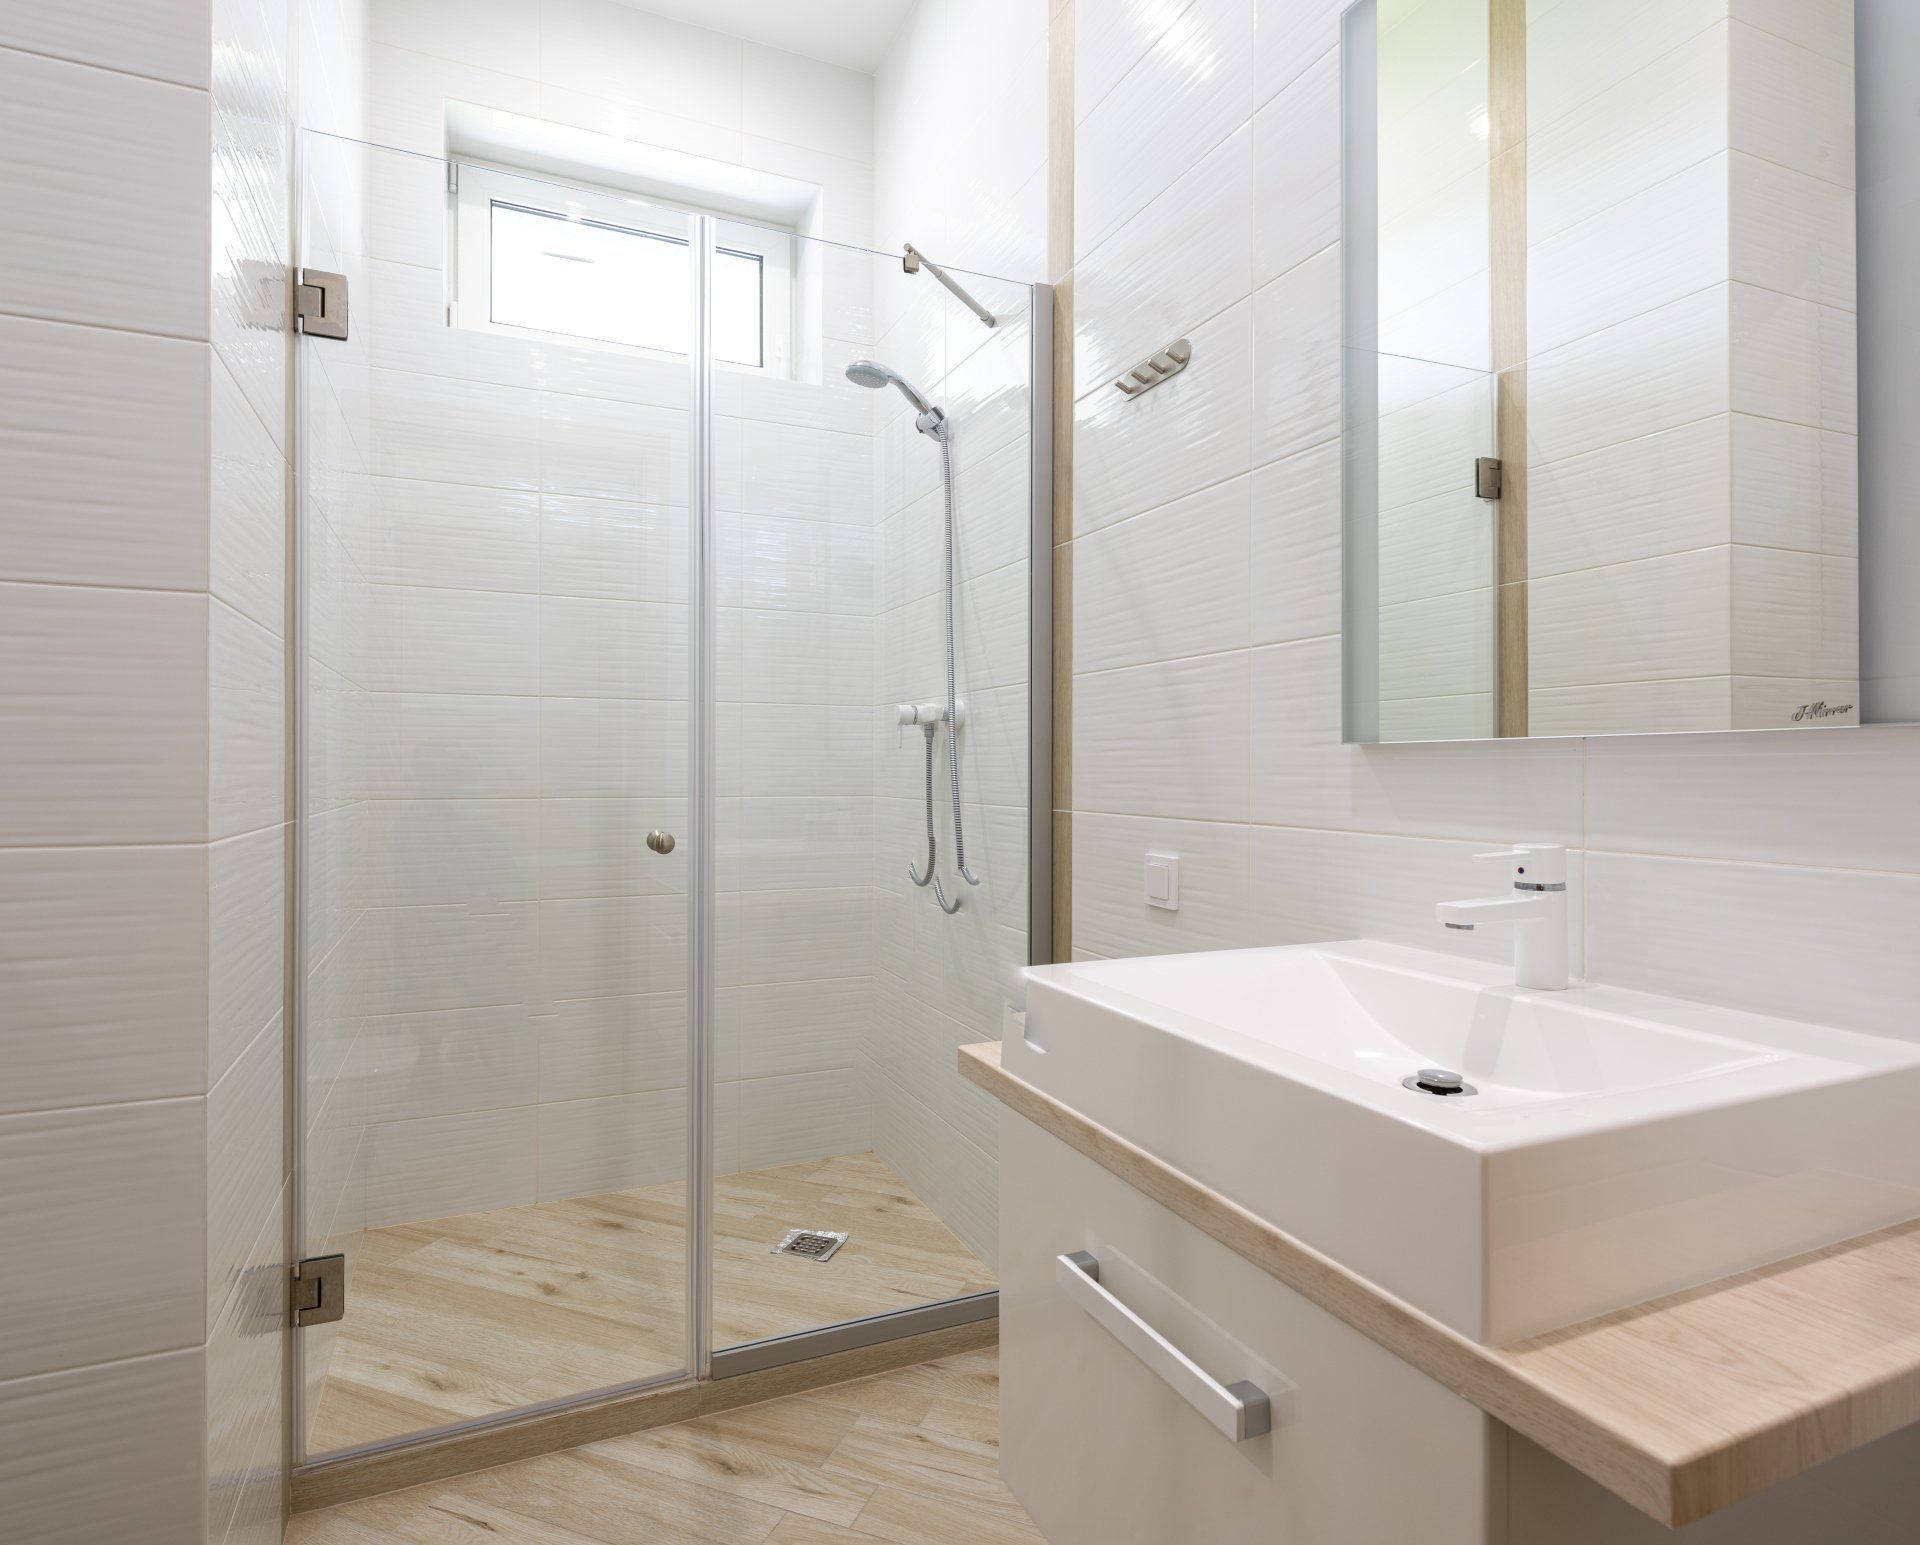
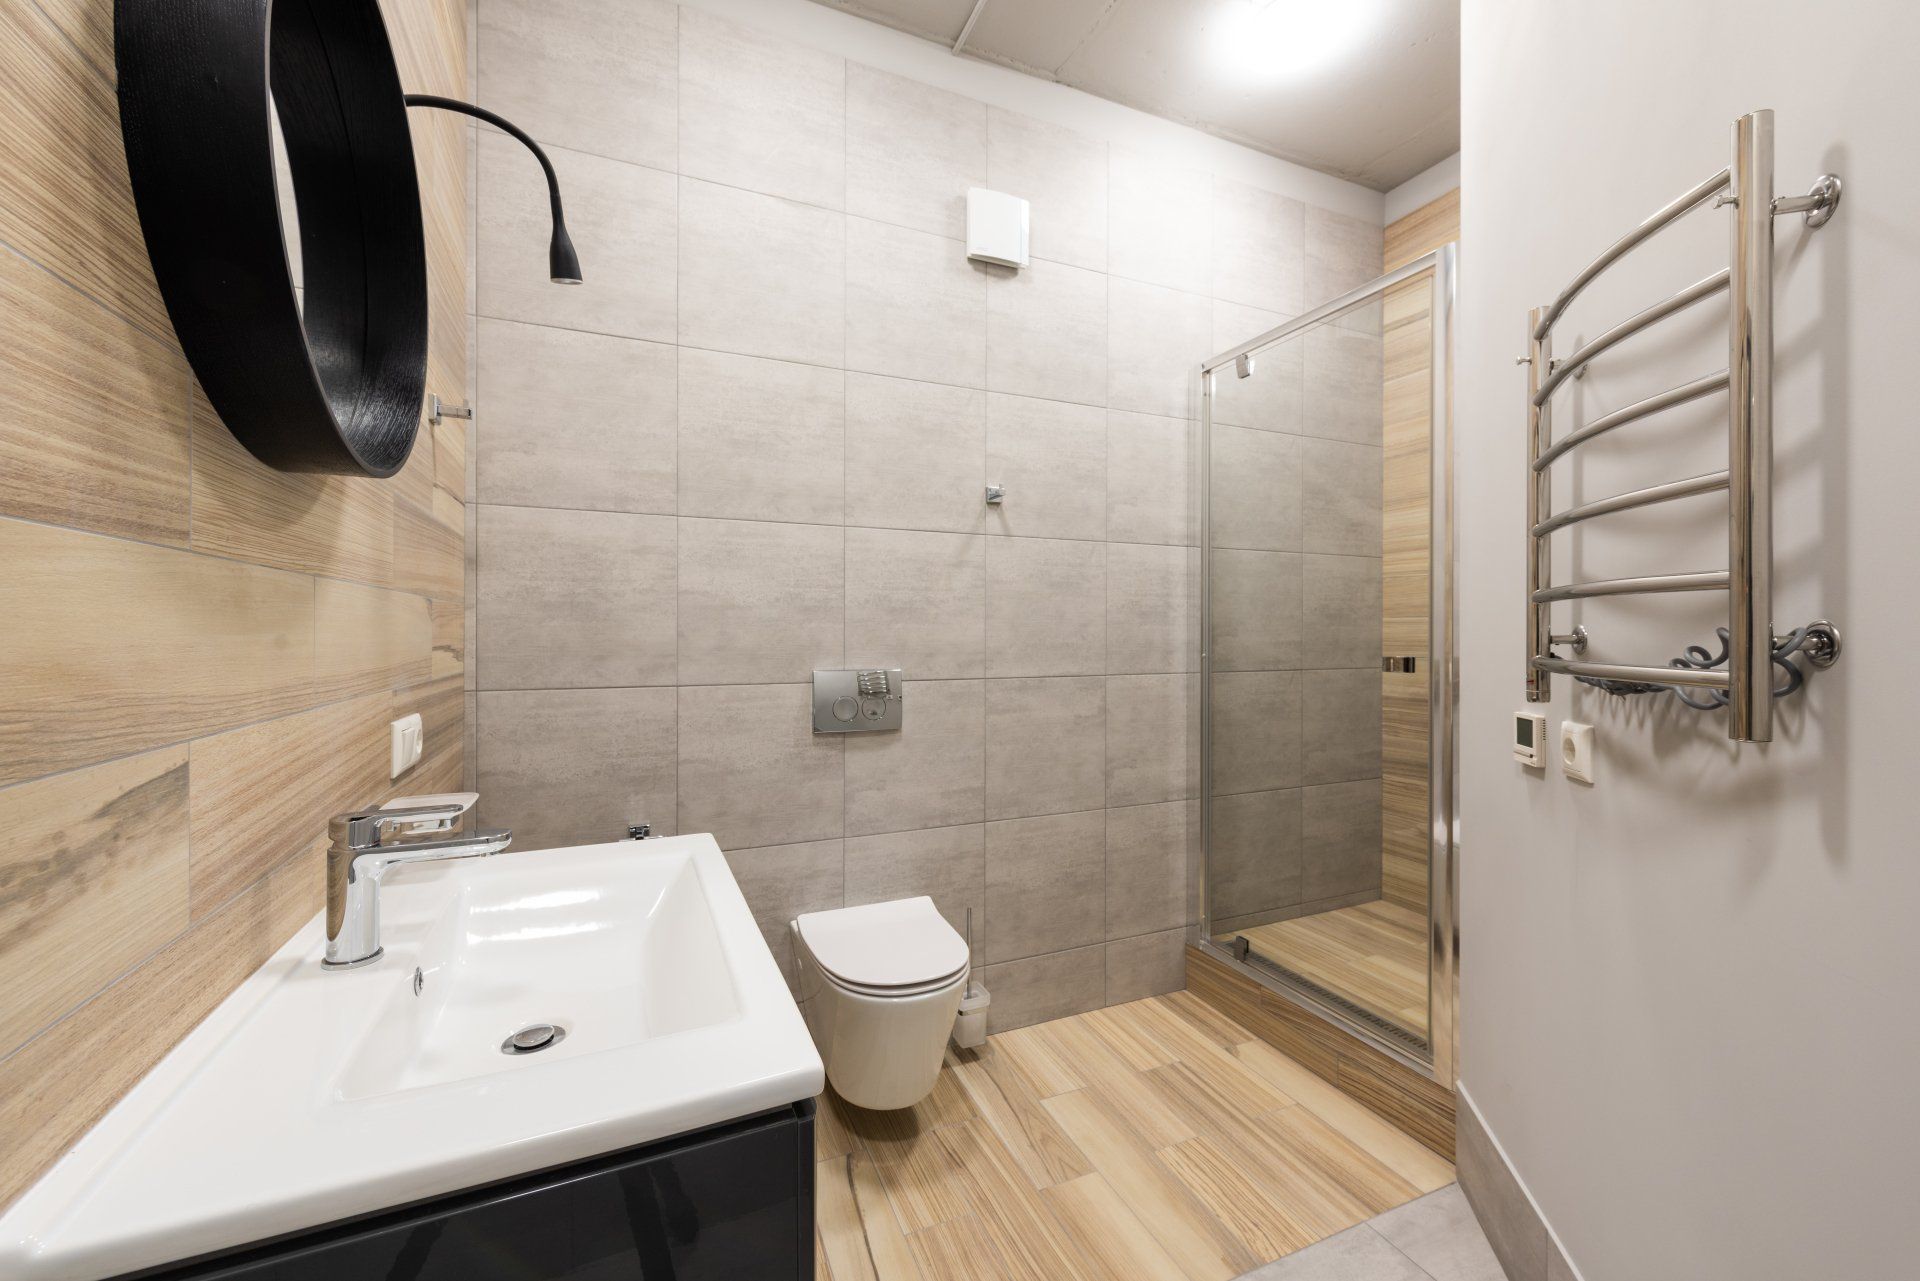
Be sure you understand what type of project you're doing. Installing tile floors is slightly different than doing a backsplash so plan accordingly. Prior to embarking on any tile installation project, it is vital to plan in advance and prepare the surface adequately. This implies ensuring that the area is crystal clean, level, and dry. Also, you need to ensure that the substrate (the surface on which the tile will be installed) is structurally sound. If any noticeable repairs need to be worked on, they should be finalized before the tile installation process kicks off.
Moreover, it is essential to measure the area where the tiles will be fitted. This will go along with establishing the number of tiles you will need to purchase. Once all of the necessary measurements have been taken, you can begin shopping for materials. Make sure to purchase more than enough tiles, as some may need to be cut or broken during installation.
Layout and Cutting:
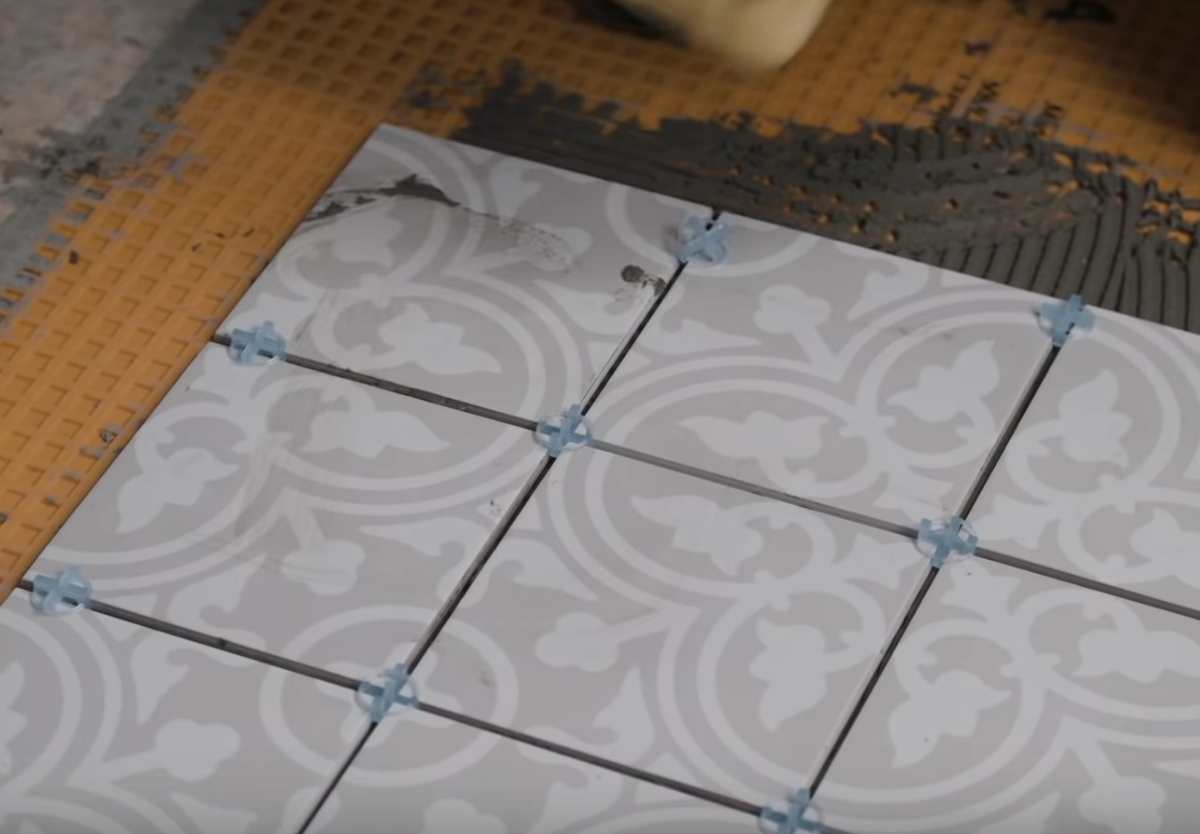
Before you embark on tile installation, you need to properly plan and lay out the area. Measure your space and sketch a diagram of how the tiles will fit together. You'll need to take into account any cuts or adjustments that need to be made for any odd-shaped areas. Once you've determined the layout, it's time to start cutting the tiles.
For most jobs, a wet saw will be necessary to make precise cuts and help create smooth edges. A tile nipper can also be helpful in creating more intricate shapes. In general, any cuts should be made with the back of the tile facing up. This will help to keep the cut clean and avoid chipping the glaze on the surface.
Mortar Application
Once the tiles have been cut and laid out in the desired pattern, the subsequent step is to apply mortar. Mortar is a cement-based adhesive used to bond the tiles to the substrate. Before applying the mortar, it's essential to make sure the substrate is clean and dry so that the mortar can adhere properly.
To start, mix the mortar according to the manufacturer's instructions. For large projects, it may be best to use a power mixer for better consistency.
Once the mortar is ready, apply a thin layer of mortar to the substrate using a notched trowel. Make sure to spread the mortar evenly over the entire area where you will be installing the tiles. When spreading the mortar, hold the trowel at a consistent angle to ensure a flat surface.
Once the substrate is covered with mortar, place the tiles onto the substrate. Start from one corner of the room and work your way outwards. Make sure to press each tile firmly into the mortar as you go. If necessary, use a rubber mallet to set them into place. Be sure to check for levelness as you go and adjust accordingly regularly.
Continue until all of the tiles are installed in the desired pattern. Then allow the mortar to dry for 24 hours before grouting.
Tile Installation
Once the tiles have been properly laid out and cut and the mortar applied, it's time to install them. When installing tiles, it is essential to make sure that you are working from the center of the room outward and following a grout line in a consistent pattern. Make sure that you are not over-spreading the tile adhesive and that the tiles are secure when being pressed into the mortar.
When installing tiles, it is necessary to keep them level and evenly spaced. If you are laying the tiles in a running bond pattern, be sure to stagger the tiles so that each row is offset from the last by half the tile size. Any excess mortar should be scraped off with a trowel. Additionally, any tiles that need to be cut or adjusted should be done carefully using a wet saw or tile nippers.
Grouting
Grouting is a critical step in the tile installation process, as it helps to fill any gaps between tiles and adds an extra layer of protection against moisture damage. The grout mixture you use should match the type of tile you're using; for example, use sanded grout for larger tiles and non-sanded grout for smaller tiles.
To start grouting, you'll need to mix the grout with water until it reaches a paste-like consistency. Once your mixture is ready, begin to fill in any gaps between the tiles. When you're done, make sure to wipe away any excess grout from the surface of the tiles.
Once all of your grout lines are filled, let the grout dry for at least 24 hours. After the grout is fully cured, apply a sealer to the grout lines. A sealer can help protect the grout against moisture damage, staining, and mold buildup.
Finishing
Once the grout is cured, it's time to complete your tile installation. The finishing step is all about tidying up and ensuring your tile installation looks its best. This includes cleaning up any excess grout or debris and wiping down the tiles. You may also want to add a sealant to the grout lines to prevent staining, discoloration, and further water damage.
Lastly, inspect your work to ensure you are happy with the results.
The timeframe for a tile installation project can vary depending on multiple factors, such as the size of the room being tiled, the complexity of the pattern, and the types of tiles being fitted. Overall, a standard bathroom or kitchen tile installation project can take a couple of days to a week or more to see off.
It's worth noting that tile installation is a skilled trade and should be performed by a qualified tile contractor to guarantee the best outcome. Undertaking a tile installation project, yourself without proper tools and expertise can give rise to costly blunders and unimpressive results. Therefore, for impressive and timely results, contact our team at MadTown Drywall, and we won't disappoint you.
Want A Quote From A Professional Tile Installer?
Tile installation projects can be tricky. You can certainly DIY them, but if you don't want to, how about you contact us here at Madtown Tile Installers and get a quote. We have awesome prices and great service so you'll absolutely love your final design!
Like The Content? Feel Free to Share...